The mortise is the part that shows
A hinge leaf sitting proud of the door edge catches a fingernail every time someone opens it. Cut too deep and the door binds against the jamb. Chiselling to a knife line by hand gets you close; a jig gets you the same depth on every hinge, on every door.
- 6061 aluminium, anodized
- 2-1/2" to 5" hinges
- Integrated depth gauges
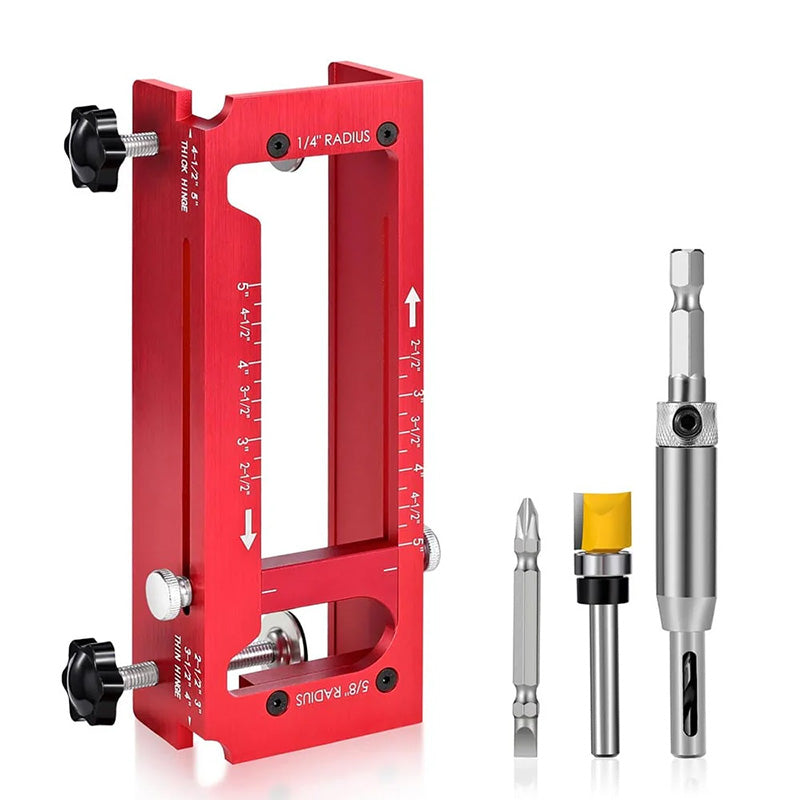
- Bits included

Six hinge sizes, marked on the jig
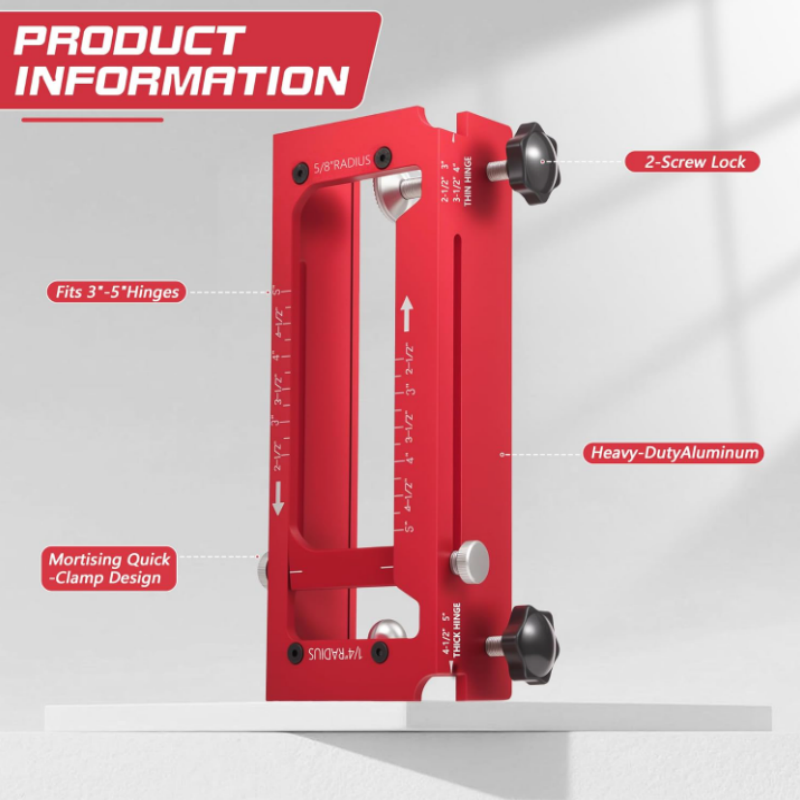
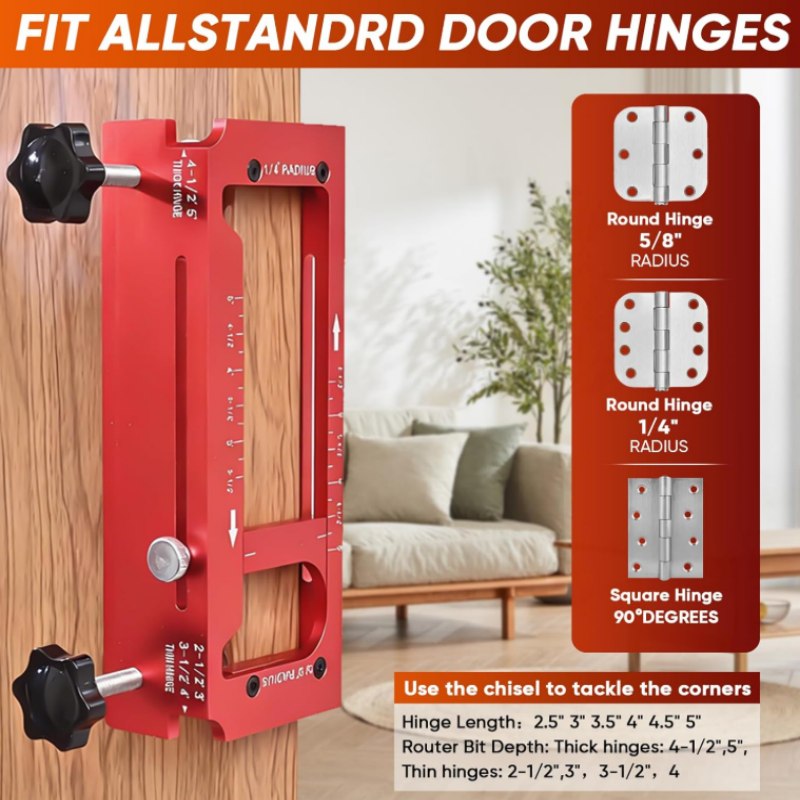
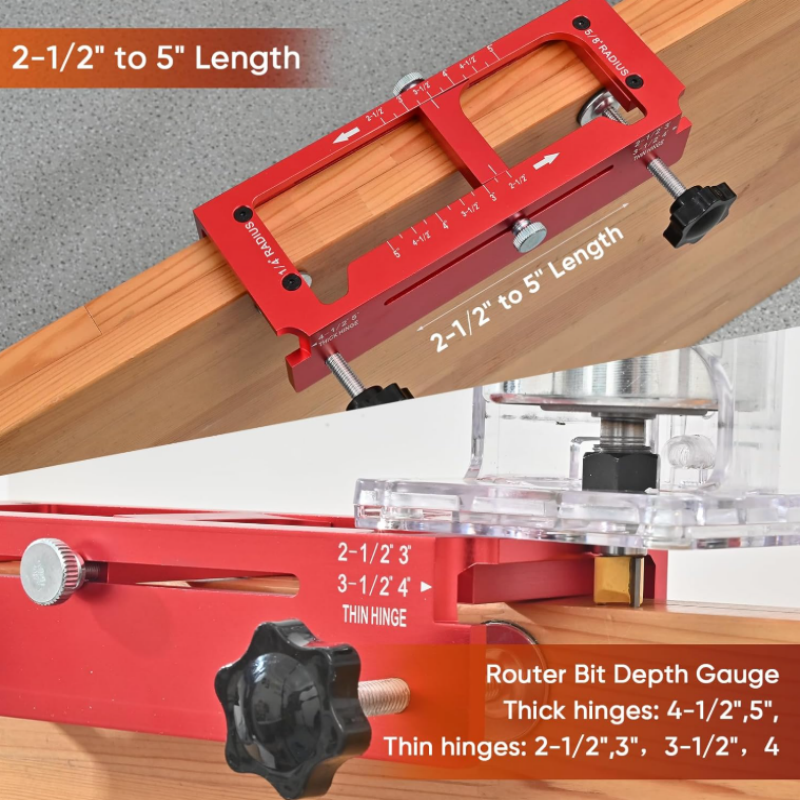
Guides are marked for 2-1/2", 3", 3-1/2", 4", 4-1/2" and 5" hinges, which covers effectively every interior and exterior door you will meet. Set the length against the mark instead of measuring off the hinge and hoping.
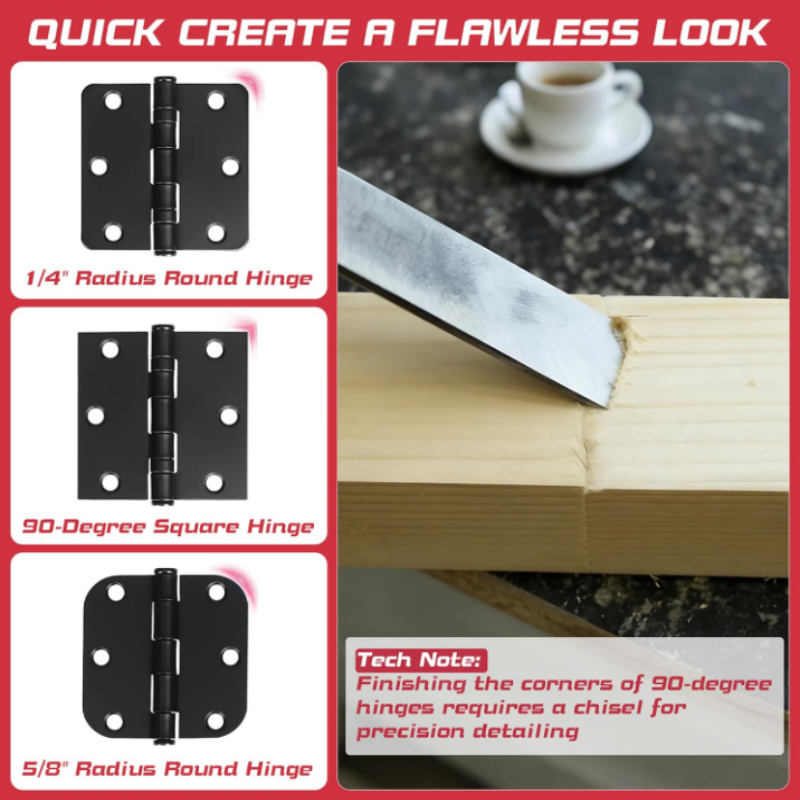
Radius corners at 1/4" and 5/8" rout complete. Square-corner hinges rout to the line and then take a chisel in each corner to finish — that is true of any router-based jig, not a shortcoming of this one.

Depth gauges are the whole point
Integrated depth gauges mean the mortise bottoms out at the same place every time. Set it on the first door, then rout the rest of the run without re-checking — all the leaves sit flush and none of the doors bind.
- Same depth every hinge
- Leaf sits flush, not proud
- No re-measuring between doors

It has to not move
The knobs clamp the jig hard onto the door edge. A jig that creeps a millimetre halfway through the cut leaves a stepped mortise, and there is no fixing that afterwards — so the clamping is where a jig earns its keep.
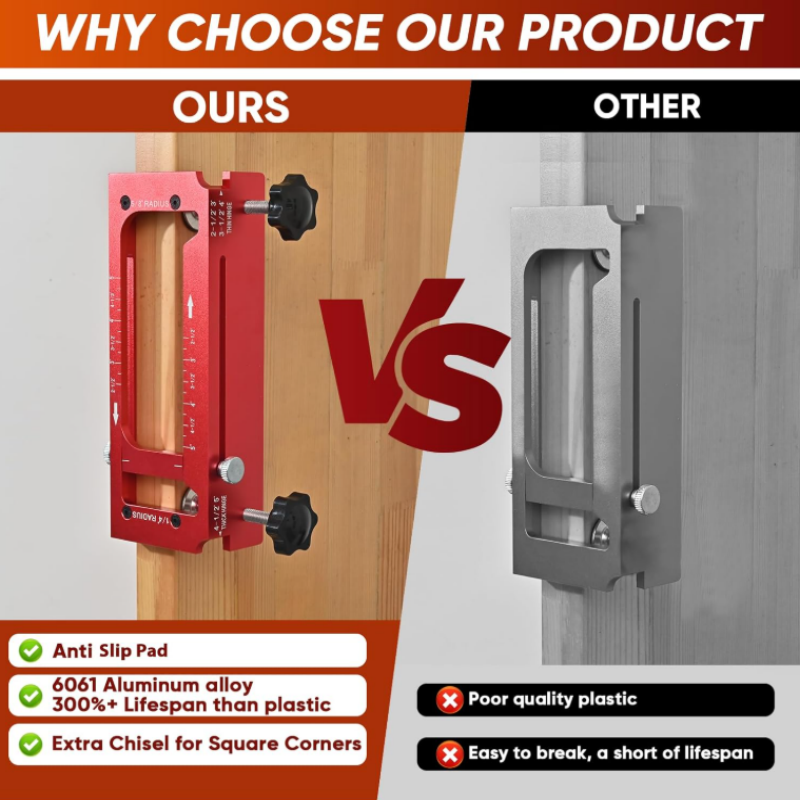
6061 aluminium alloy with an anodized finish handles being clamped, knocked and thrown in a van without picking up rust or losing its edges.

Four steps per hinge
- 1. Clamp the jig to the door edge at the hinge position
- 2. Set the length guide to your hinge and the depth gauge to the leaf thickness
- 3. Rout the mortise in a couple of passes rather than one deep bite
- 4. Square the corners with a chisel if your hinges have square corners

Frequently asked questions
Does this work on the door jamb too?
No — this jig is built for the door edge. The jamb side is a different geometry and this is not the tool for it. Worth knowing before you order.
What comes in the box?
The jig, a router bit, a self-centering drill bit for the screw holes, and a screwdriver bit. You supply the router itself.
Will it do square-corner hinges?
It routs the mortise, then you square the four corners with a chisel. A router bit cuts a radius — no jig can produce a true 90° internal corner on its own.
Which hinge sizes are covered?
2-1/2", 3", 3-1/2", 4", 4-1/2" and 5", all marked on the guides. Corner radii of 1/4" and 5/8" are handled directly.
Is Red different from Silver?
Only the anodizing colour. Same 6061 aluminium body, same guides, same capacity.
Is it worth it for a single door?
Honestly, for one hinge a sharp chisel and patience will do. The jig pays off from about a door's worth of hinges upward, and pays off properly on a whole house.